Edit Your Instance Header & Logo
Customize your Allmoxy instance to match your brand!
Customize your Allmoxy instance header to make your storefront look more professional and on-brand.
Navigate to Settings ➡️ and select Theme
Scroll down to the image upload sections.

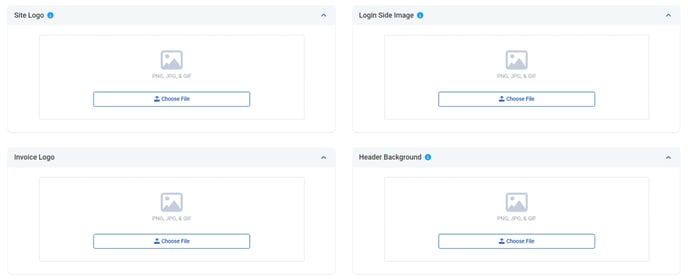
The Site Logo will appear on the login screen above the Username and Password.
The Login Side Image appears on the side of the logo and is a great way to showcase your products, a finished job, or a design concept. Get creative!
The Invoice Logo is the logo that will appear on any output pages generated in Allmoxy, this is also an image that can be used in any trigger emails.
Design your instance header:
It's important to note that the header works by combining two elements on top of each other: the header background and the header content. The header background is essentially a non-functional "image" that doesn't contain buttons, links, or anything else that can perform an action. Instead, it's simply a visual element that provides a backdrop for your header.

Keep in mind that the header image will repeat itself as many times as it needs to in order to cover the header area. This means that if you've uploaded a small image, it may repeat multiple times and potentially create seams or lines. To avoid this, consider using solid colors or larger images that can repeat seamlessly.
The header content sits on top of the header image and is a layer that can have actual functionality, such as links or a navigation menu. You can use HTML to code the header like a web page, which ties it back into your normal site and creates a seamless transition for your users. Additionally, you can insert your company logo by using the header content editor. Unlike the header background, contents in the header content section do not repeat, allowing you to align your content as you wish.
In conclusion, customizing your website's header is an easy way to make it look more professional and on-brand. By following these simple steps, you can edit, remove, and add a header background and logo with confidence.
