Generate New Thumbnail Images in the Visual Designer
Walkthrough of How to Update Sidebar Images in the Visual Designer
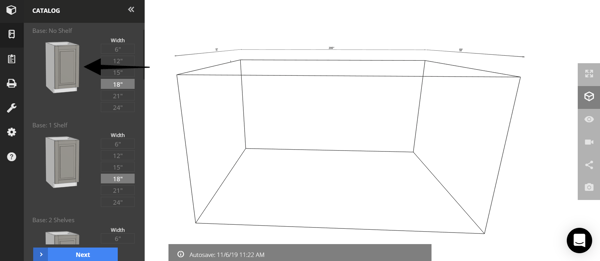
Allmoxy defaults all thumbnails with a slab door, in geometry mode, and with half transparency turned on. But that's just our preference, you can update them however you'd like!
Here's a step-by-step process of how to update your side menu thumbnail images:

NOTE: Thumbnails need to be generated in a non-Windows and non-Chrome environment.
1. Set your Front Settings to your desired door style and finish for your thumbnail images.
2. Drag out into the room all the products that you would like to update the thumbnails for.
3. If you want to see the color and texture in your thumbnails, then click the cube on the right
side menu to change to design more (if you want the grey images, leave it in geometry mode).
4. After all the products are in the designer and they match what you'd like to see in the side menu, click the wrench icon on the left side menu.
5. Select if you want them to be half transparent.
6. Click Generate Thumbnails
7. Click on Reset Cache. This will update your thumbnails!
If you'd like to download these images for promotional use, visit this article.
