How to Use the 3D Visual Designer
A quick tutorial for users new to the visual designer!
Don't forget! Your design autosaves while you work and then converts all of your products into a completed order bid when you are done!
To get started, go to the shopping cart icon and select Create new order, then click on the Visual Designer button:
![[b89f0cd7de710dc51ff6771ae8a4c9f5]_Image 2019-06-13 at 2.22.32 PM](https://articles.allmoxy.com/hubfs/%5Bb89f0cd7de710dc51ff6771ae8a4c9f5%5D_Image%202019-06-13%20at%202.22.32%20PM.png)
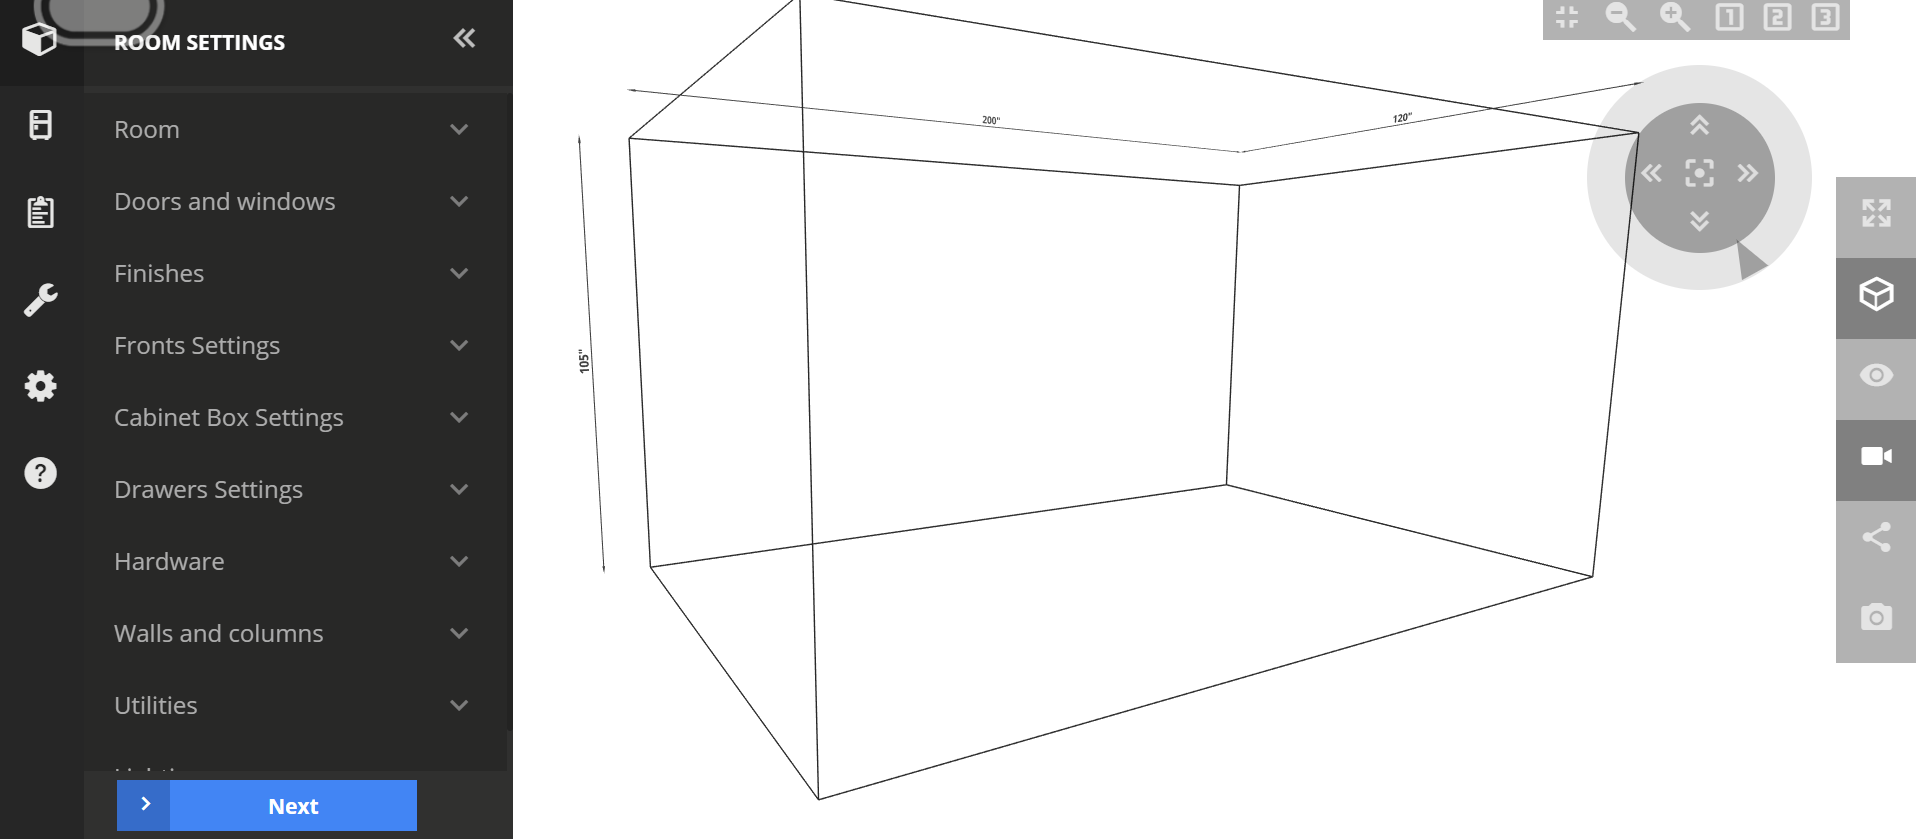
Once the Visual Designer has loaded, you'll see two menus. We'll focus on the left side menu for now:
The Room Settings (the cube icon) is where you will set up the room you want to design. Enter room dimensions, place doors & windows, choose flooring & wall color, etc. There are also some umbrella settings you can set here for your cabinets, such as materials & styles.
NOTE: The settings you select in the Room Settings section will apply to any products you add from the catalog. (Don't worry, you can still customize each individual product- This is just a time-saver!)

After you've set up the room layout and selected all of your finishes, you can move to the cabinet icon which is the catalog. This catalog pulls from the products in your Allmoxy instance, giving customers the same options. Simply grab a cabinet and drag it to the desired location in the designer!
The clipboard icon creates a List of all the products inside the room. You can even select an option that numbers them so you know exactly which product is which in the designer!
The printer allows you to print a variety of room views. The wrench icon is where you can find export options for your design. The gear controls settings for the designer. The question mark icon is where you can find all kinds of tips and hints for using the Visual Designer.
Once you have created a design and saved it as a bid, you can access the designer by clicking on the order's cube icon in the order list:![]()
Let us know if you have any additional questions by chatting our support team! Just click on the Help button in the bottom right corner.
