
If you already use a live chat service to support your customers, you can show its chat widget on every page of your Allmoxy site. Pick the service, paste the key it gives you, and save.
Applies to: every shop. Needs the Manage Extensions permission (on by default for the Employer role) and an account with one of the chat services below.
In this article
Chat services you can use
ChatBot, Freshdesk, HubSpot, Intercom, LiveChat, Sendinblue, Tawk.to, Tidio, Zendesk and Zoho. Some choices, including LiveChat and Intercom, don't show a widget yet even when chosen; if yours doesn't appear, tell support which service you use.
Add the widget
- In your chat service, find the API key it gives you for its widget.
- In Allmoxy, go to Settings > Integrations > Extensions.
- On the ChatBot card, in Select the Chat Option, choose your chat service.
- Paste the key into Chat API Key.
- Save.
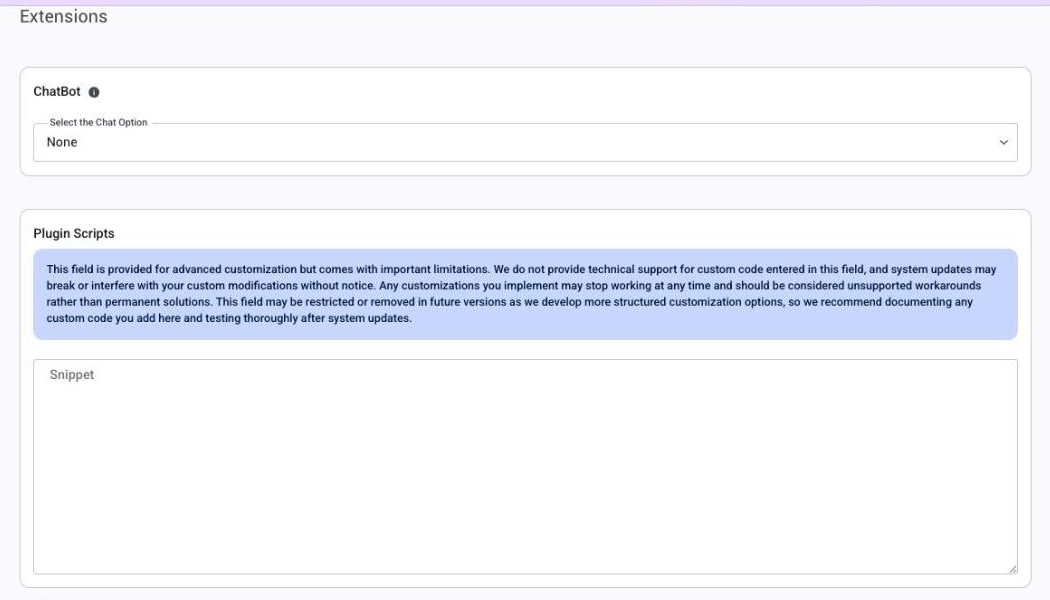
To remove the widget later, choose None and save. That clears the saved key.
Check that it worked
Reload any page. The chat bubble sits on the opposite side of the page from the black sidebar, where most of Allmoxy's Save Changes and Submit buttons sit. Open it and send yourself a test message.
Things to know
- Paste the key, not an embed code. The card takes the service's key and builds the widget for you.
- It shows on every page, so your team sees the widget too, not only your customers.
- The Plugin Scripts card on the same page takes raw code. Pasted third-party code isn't supported and can break on updates, so use the Chatbot card for chat.